
Sensory-Friendly Building Tips

- As seen on FOXFOX 4 holiday gift guide
- Free design proofoptional, before anything is made
- Sorted by colorlabeled bags and a printed map
- Order by December 15to receive it before Christmas
A sensory-friendly brick build is mostly about control: short sessions, one row at a time, colors sorted before you start, a quiet space with good light, and a clear place to stop. These tips are for autistic kids and adults, their families, and anyone who likes a calm, predictable way to make something.
Everyone's senses are different. A sound one person loves can be too much for someone else, so treat this as a menu, not a rulebook. For background on why many people find this kind of building calm, and what the research does and does not say, see our main guide to brick mosaics as a calm, shared activity.
Keep sessions short
Decide the length before you start
Pick a clear amount: 10 minutes, 15 minutes, five rows, or one baseplate. Knowing the end point from the start makes it easier to begin.
Use a visual timer if it helps
A sand timer or a timer with a visible countdown shows how much time is left without anyone needing to ask.
Stop while it still feels good
End at the next stopping point, before anyone is tired or frustrated. The mosaic will be there tomorrow.
Build one row at a time
Why rows work well
A mosaic is a grid, so a row is a natural small task. A 16×16 mosaic is 50 rows of 50 bricks on one baseplate. "Finish this row" is a clear, countable goal.
Keep your place
Lay a ruler or a strip of paper on the printed color map, just under the row you are building. Move it down when the row is done. Some people tick off finished rows with a pencil.
Use baseplates as bigger stopping points
Sizes from 20×20 up are made of several baseplates joined together. The 20×20 has four. Finishing one baseplate is a good point to take a longer break or stop for the day.
Sort colors first
Start from the labeled bags
The bricks come in small bags labeled by color, with a color name and number on each bag. That already does a lot of the sorting for you.
Open only what you need
Opening every bag at once can mean a table full of loose bricks. Try opening only the colors in the current row or section, and keep the rest sealed.
Give each color its own place
A muffin tin, an ice cube tray, or small bowls keep colors apart and within reach. Trays with raised edges stop bricks from sliding off the table.
Make sorting its own job
For some people, sorting is the most enjoyable part. It can be a separate session, or a separate role if you build together. Our guide to building together as a reader, sorter and builder explains the roles.
Create a quiet space
Choose a calm spot
A table away from the TV, a busy kitchen or a hallway helps. A corner with a wall behind the builder can feel more settled.
Sound
Some builders like silence. Others prefer headphones, ear defenders, familiar music, or a show in the background. Let the builder decide.
Touch and comfort
A comfortable chair, the right table height, and clothes that feel good matter during a long sit. A soft mat or cloth under the baseplate can reduce the small clicking sound of bricks on a hard table, and stops dropped bricks from bouncing.
Get the lighting right
Even, steady light
Similar colors are easier to tell apart in good light. Daylight from a window or a steady desk lamp aimed at the baseplate works well.
Avoid glare and flicker
Point the lamp so it does not reflect straight into the builder's eyes. If a light flickers or hums, change the bulb or the spot.
Check colors in the same light
If two shades look alike, compare them next to each other under the same lamp, and check the label on the bag.
Plan stopping points and pauses
Agree on how a session ends
Some families use the same short routine each time: finish the row, put the lid on the color trays, take a progress photo. A predictable ending can make stopping easier.
Protect the work in progress
Leave the baseplate flat in a safe place where it will not be bumped. Cover the color trays, or pour each color back into its bag.
It is okay to skip a day
There is no deadline unless you set one. Long breaks are fine.
Celebrate progress
Make progress visible
Take a photo after every session and look at them in a row, or color in finished rows on a copy of the map. Watching the picture appear is part of what makes the build satisfying.
Celebrate in the builder's way
Some people love a big reaction. Others prefer a quiet thumbs up, or nothing at all. Ask, or follow their lead.
Finish with a plan for the mosaic
Decide together where it will go: a wall, a shelf, or a desk. Frames are sold separately if you want one.
Small-parts safety
The kit contains many small 1×1 bricks.
- It is not suitable for young children or for anyone who puts things in their mouth.
- Keep bags and loose bricks out of reach of small children and pets.
- Build at a table, not on the floor, so bricks are easier to keep track of.
- Do a quick check for loose bricks at the end of each session.
FAQ
How long should a building session be?
As long as feels good for the builder. A good start is 10 to 15 minutes or a set number of rows. Decide before you start, and stop at the next stopping point.
How do I keep my place on the map?
Lay a ruler or strip of paper under the row you are building and move it down as you go. Ticking off finished rows also helps.
Do the bricks come sorted?
Yes. They come in small bags labeled by color, with a color name and number on each bag.
Is building with bricks noisy?
Pressing bricks makes a small clicking sound. A soft mat under the baseplate and headphones or ear defenders can help if sound is a concern.
What size is easiest to start with?
The 16×16 has 2,500 bricks on one baseplate and takes about 2.5 hours in total, so it splits easily into short sessions.
Is it safe for young children?
No. The kit has many small bricks and is not for young children or anyone who puts things in their mouth.
More in this series
- Brick mosaics as a calm, shared activity for autistic kids and adults
- How to build together: reader, sorter, builder
- Turning a special interest into a brick mosaic
Start small
A 16×16 kit is a calm first project. Upload a photo in the editor to see it as a mosaic. Prefer help? Ask for a free proof.
Real reviews from Loox
What builders say about the kit
4.9 out of 5 · 1,027 reviews
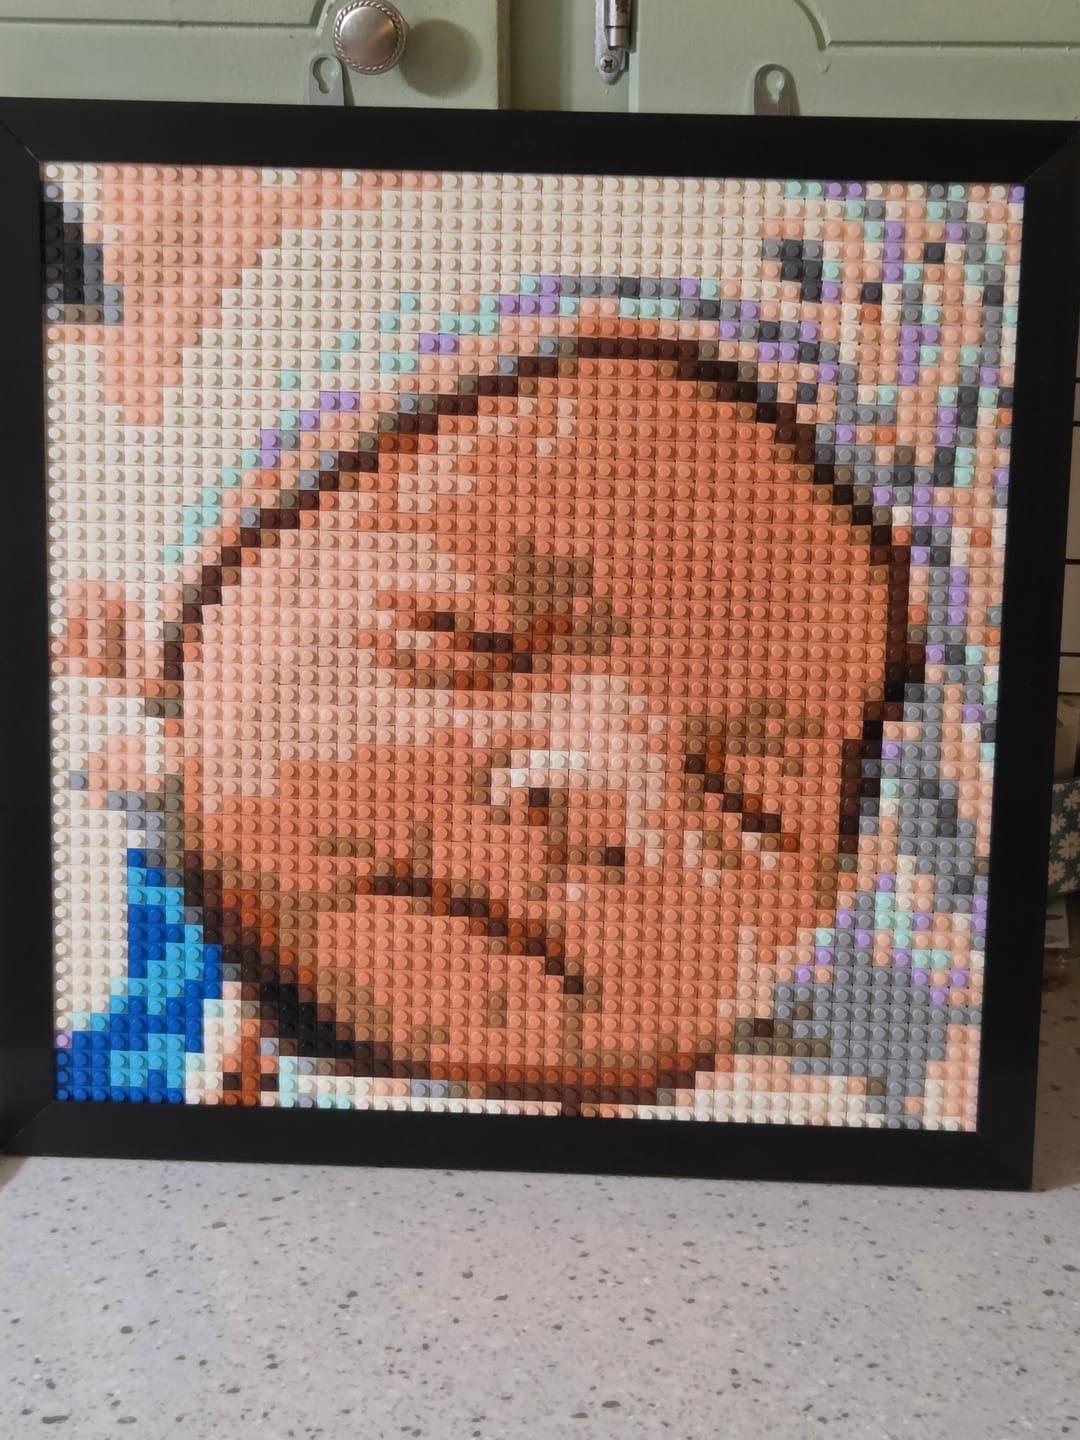
Always such a great and unique gift to give to friends and familyRichard J. · Verified buyerCustom Bricked Mosaic Portrait 16x16"
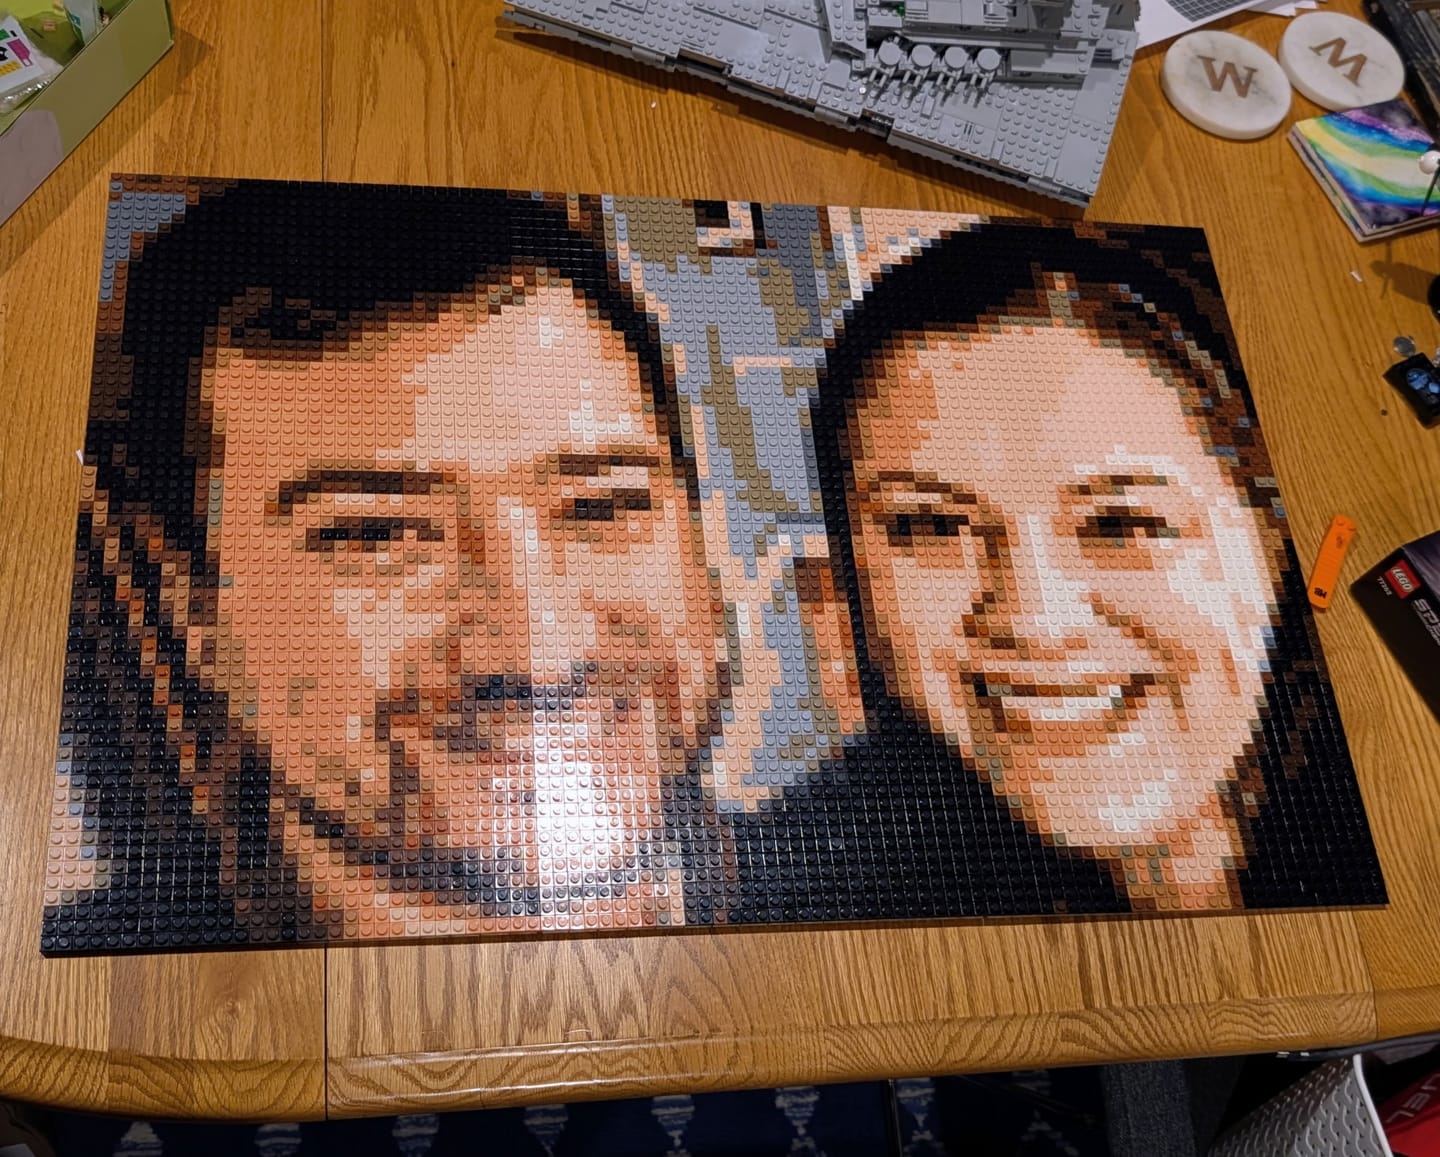
ExcellentDonna K. · Verified buyerCustom Bricked Mosaic Portrait 20x30"
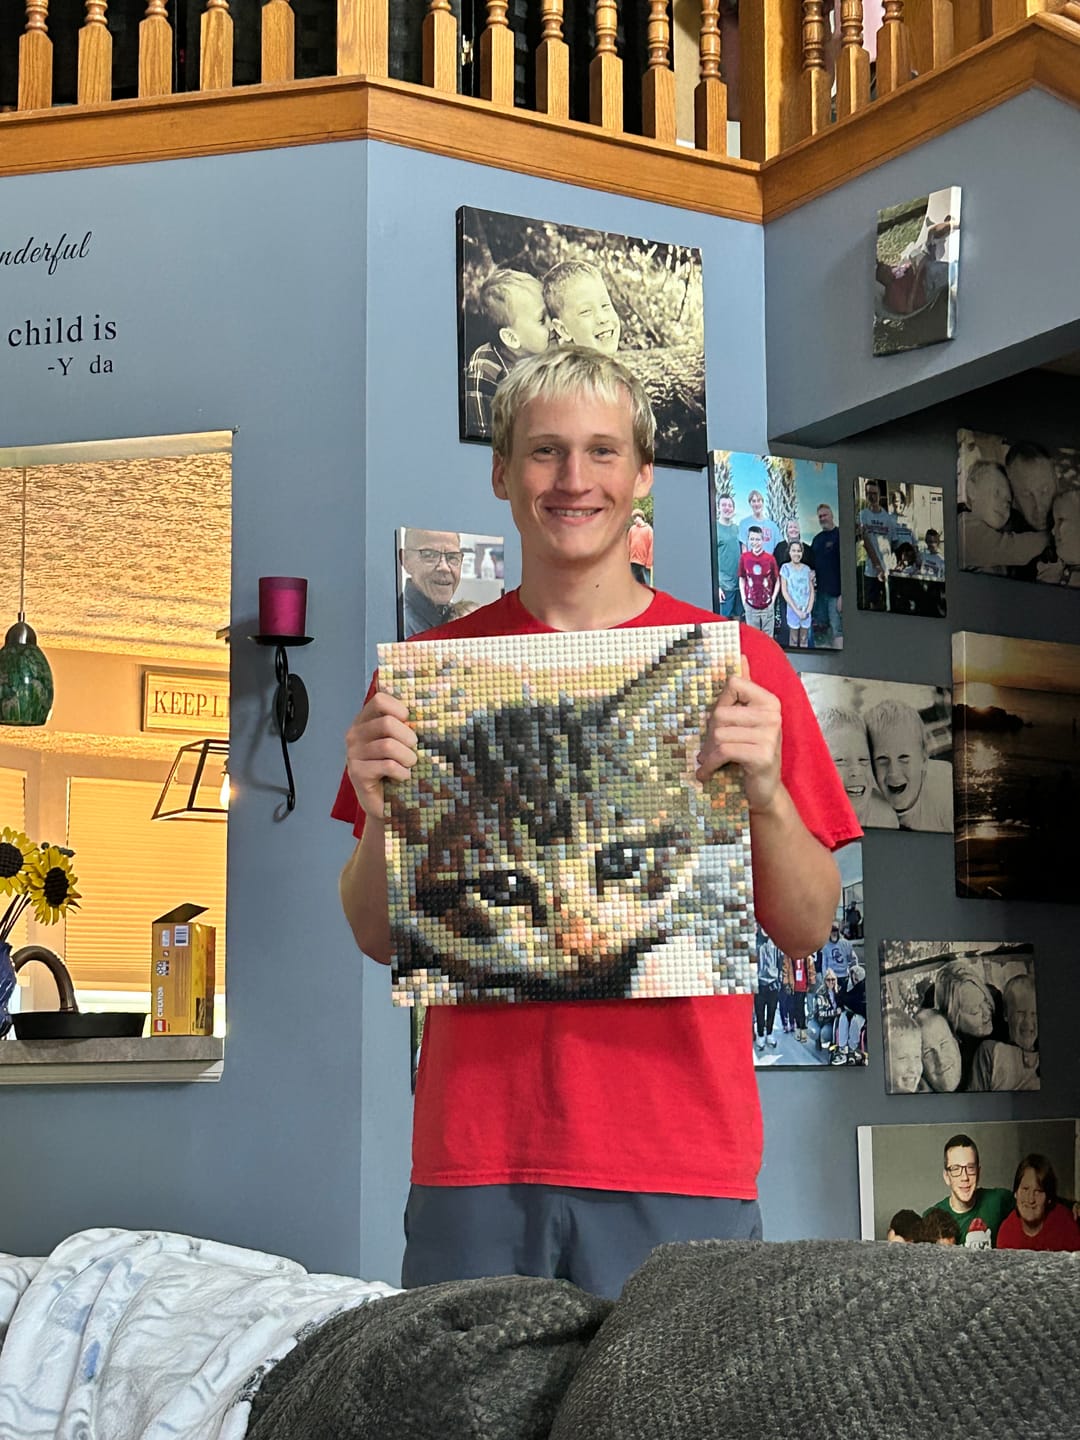
My son loves it!!Steve B. · Verified buyerCustom Bricked Mosaic Portrait 16x16"
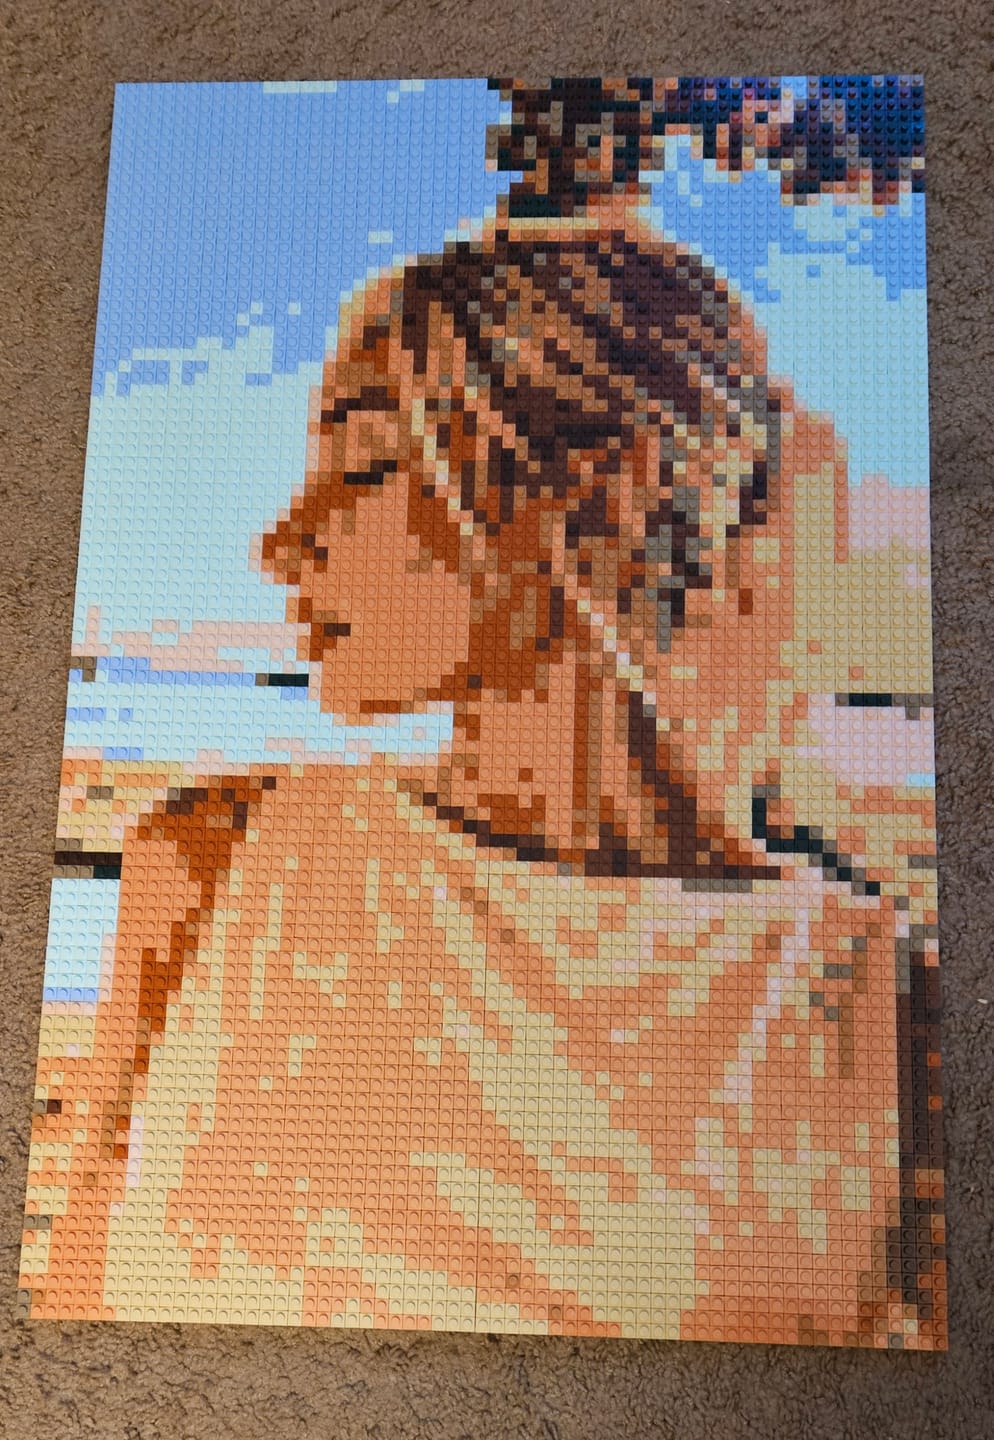
Another spectacular job turning a photo into art. She's already asking when we're going to do another one.Tim R. · Verified buyerCustom Bricked Mosaic Portrait 20x30"
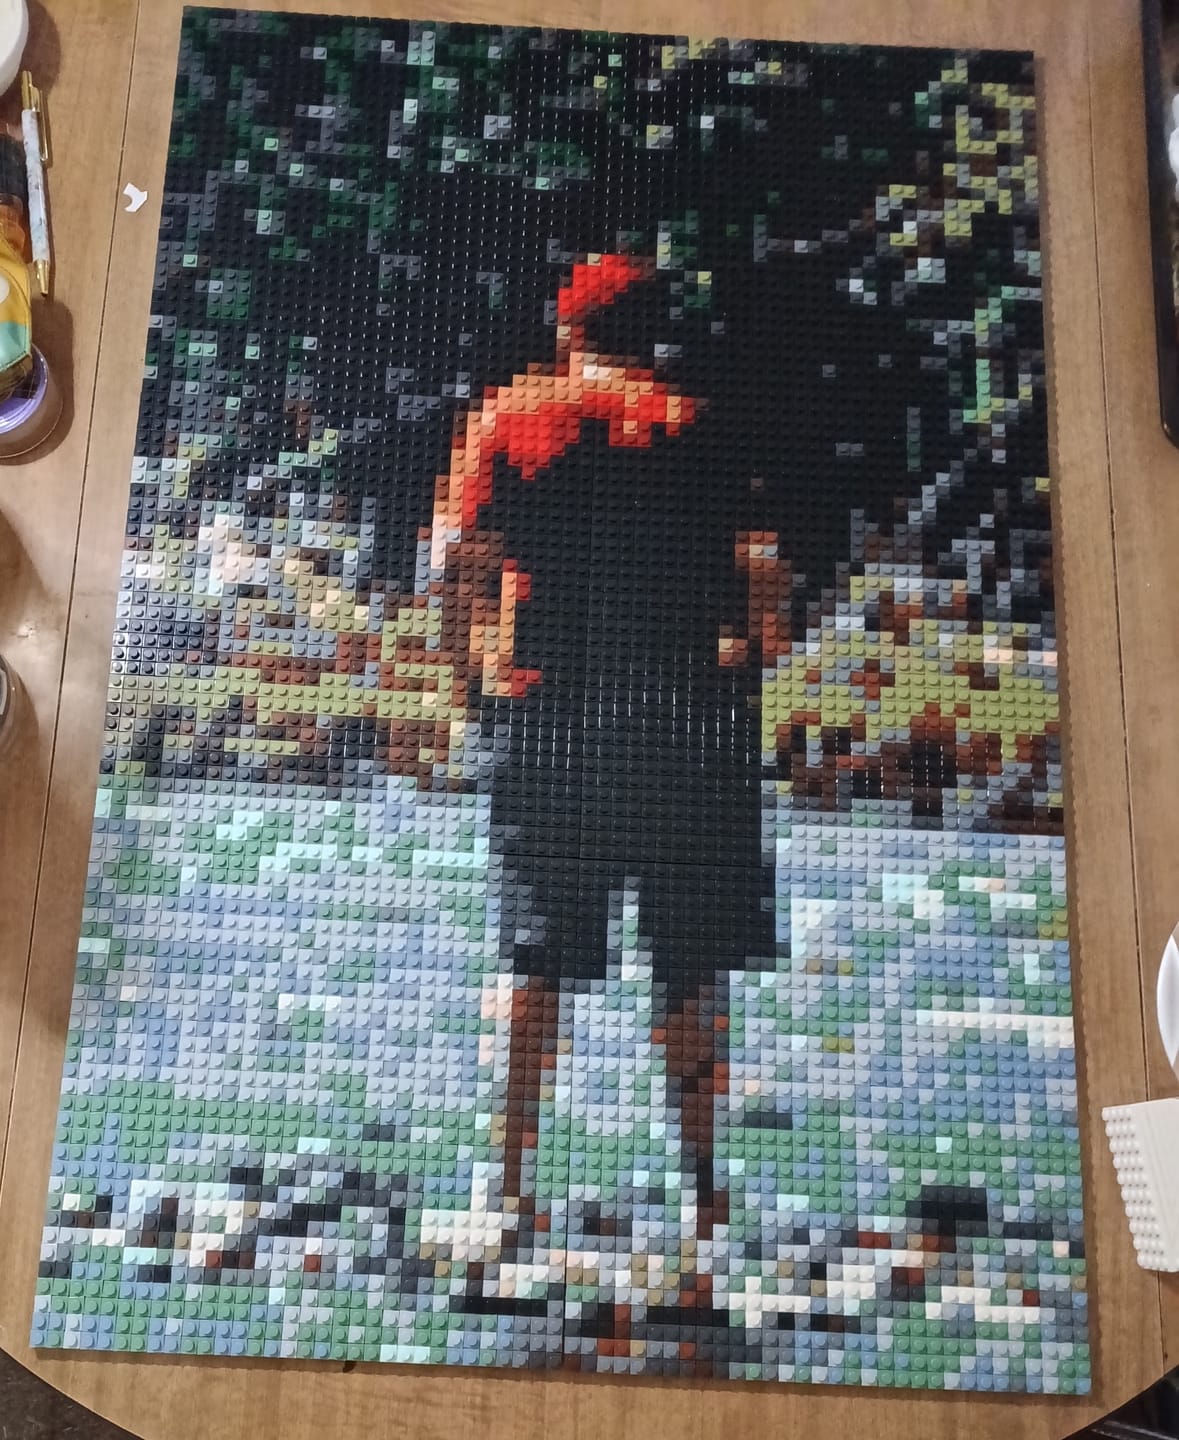
Absolutely love my memobrick order. Will definitely recommend to family and friends.Nicole N. · Verified buyerCustom Bricked Mosaic Portrait 20x30"
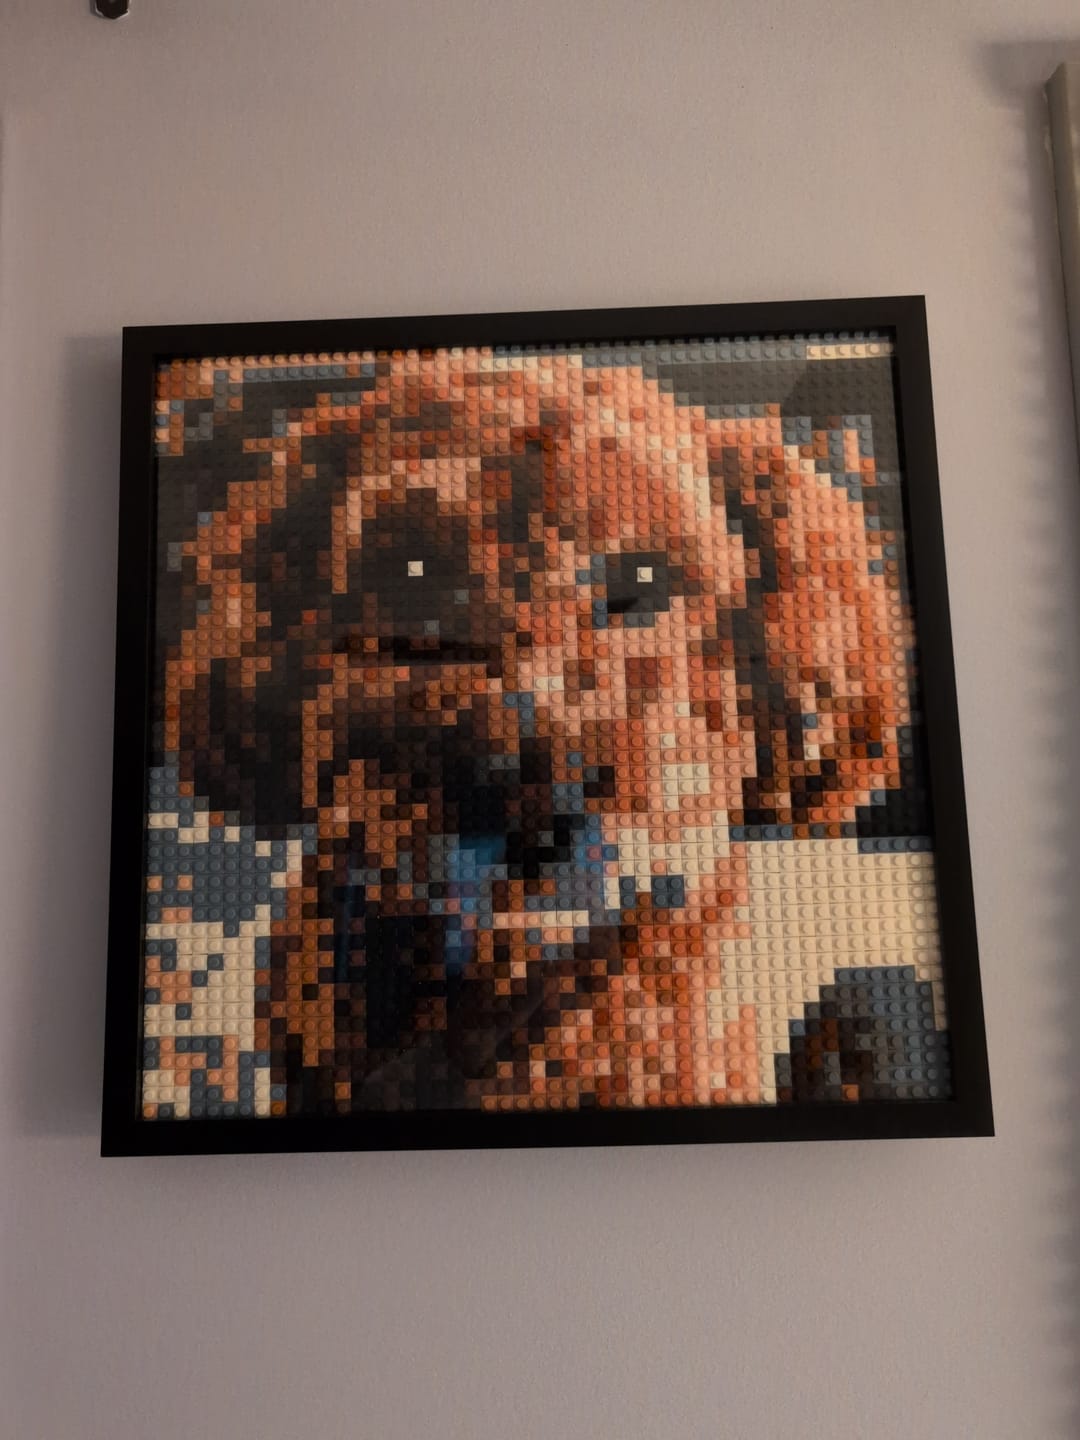
great product, great gift ! my wife loved putting the mosaic together, and the instruction sheet and whole kit are great quality ! we are going to order again !Brian B. · Verified buyerCustom Bricked Mosaic Portrait 16x16"
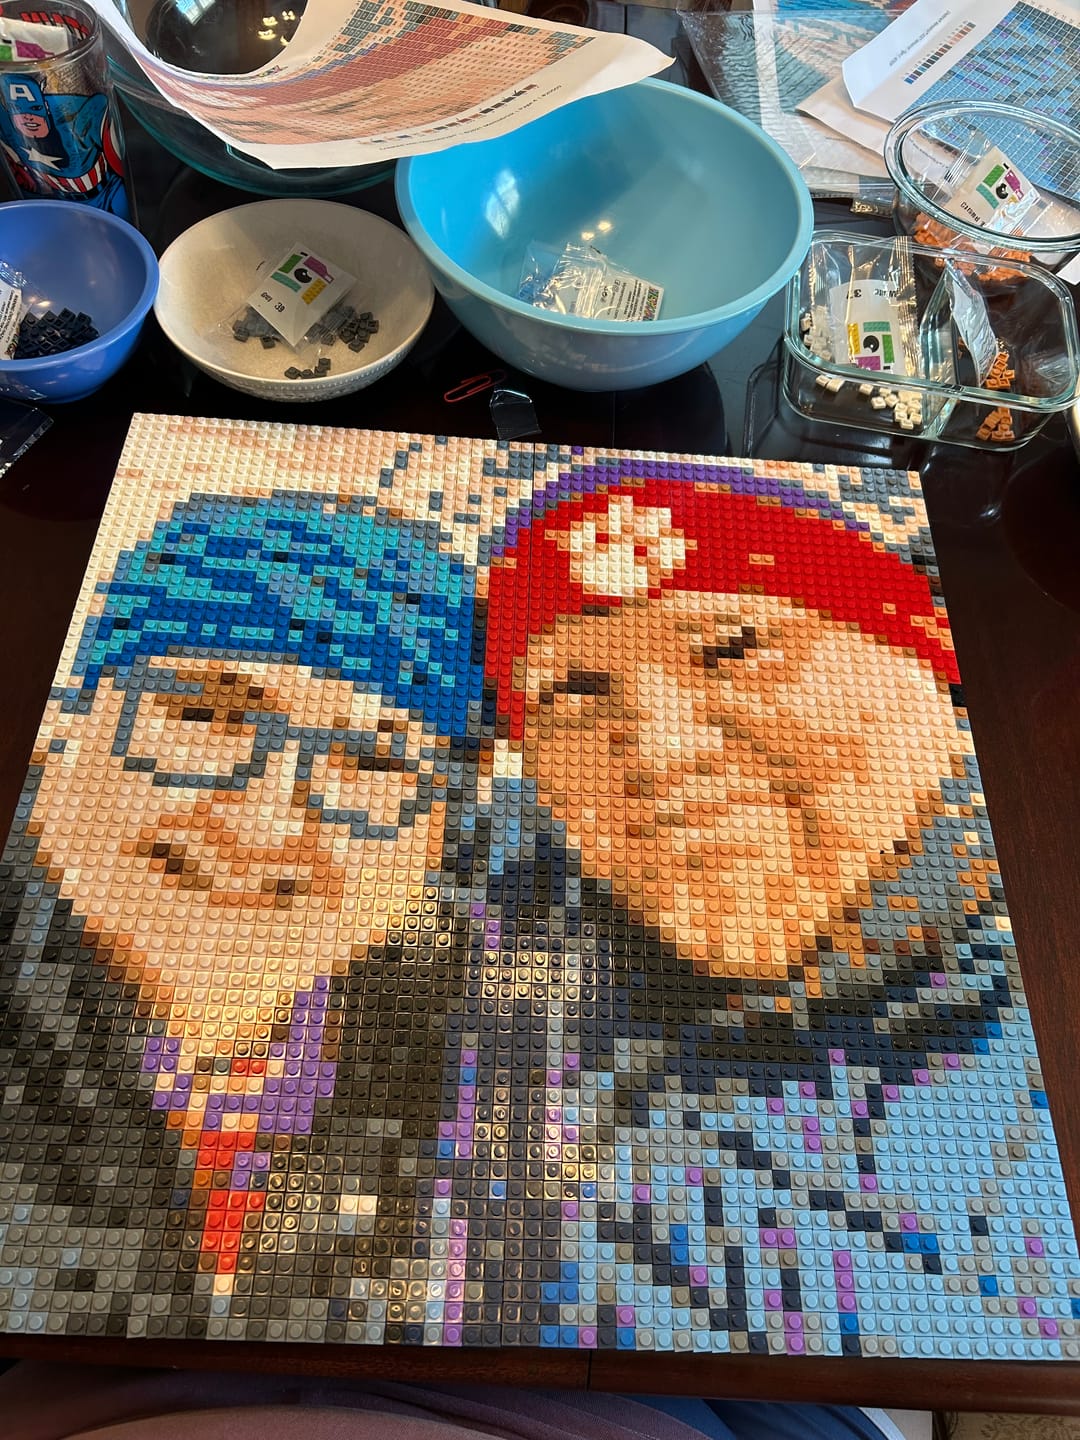
This was so much fun to do with my boyfriend! We loved doing it and can’t wait to hang it in our house. It came out so good!Ellen S. · Verified buyerCustom Bricked Mosaic Portrait 20×20"
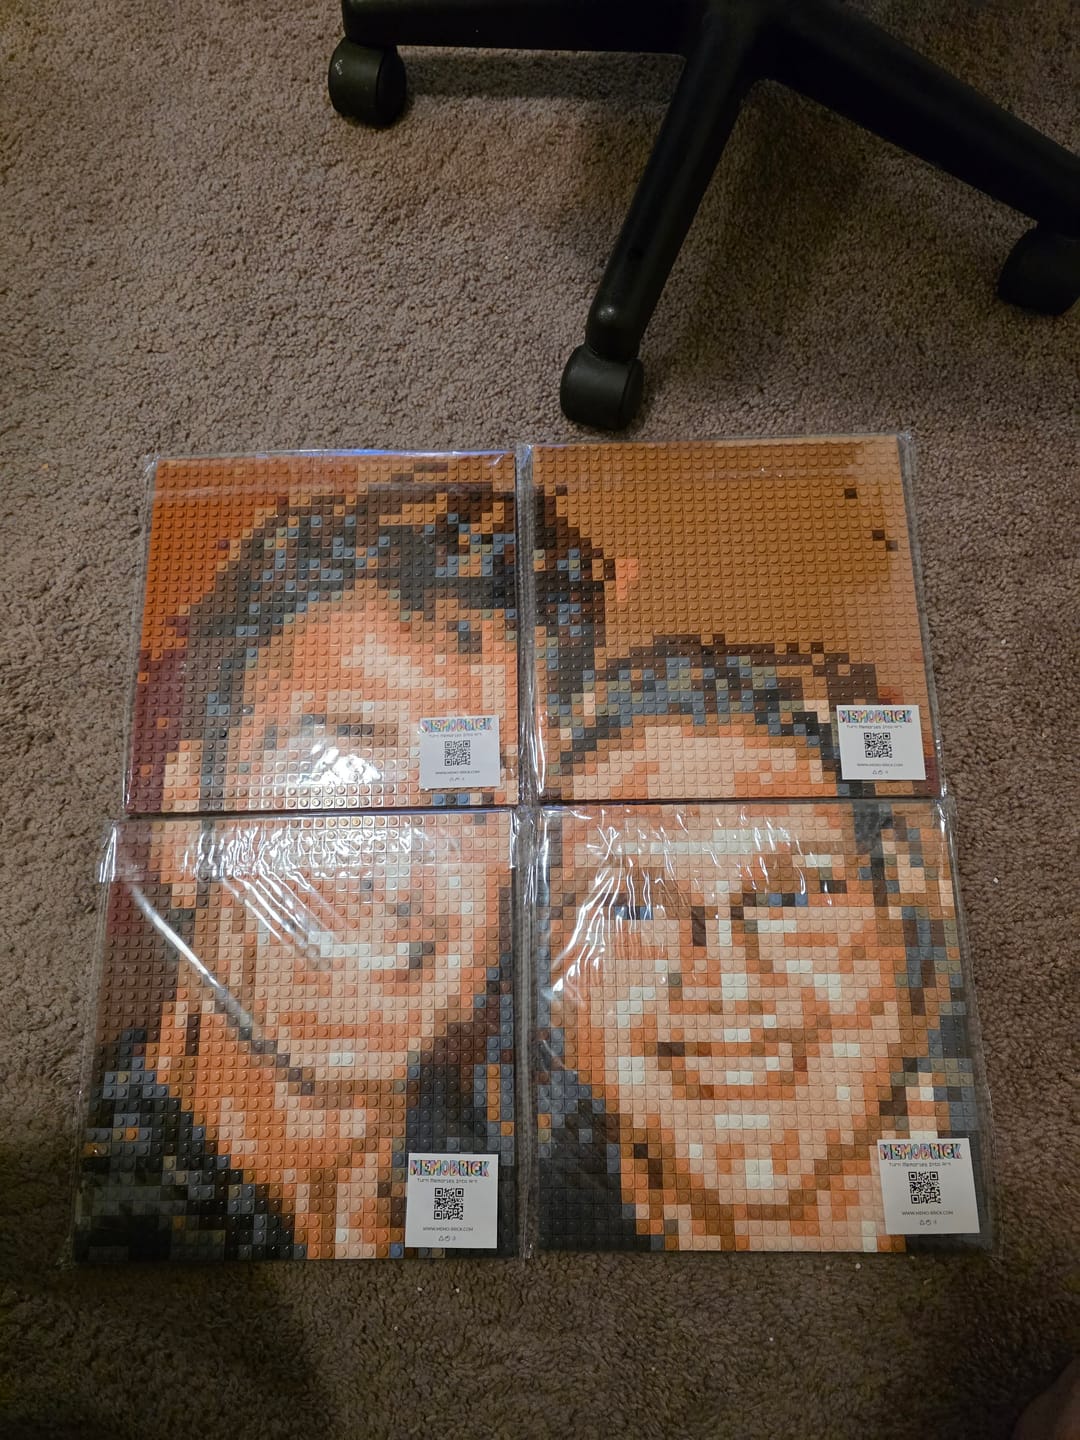
This was so much fun to do! I just love how it turned out! I'm just waiting until I can get a shadow box for it, and then I'll hang it on my wall 😁Lauren D. · Verified buyerCustom Bricked Mosaic Portrait 20×20"
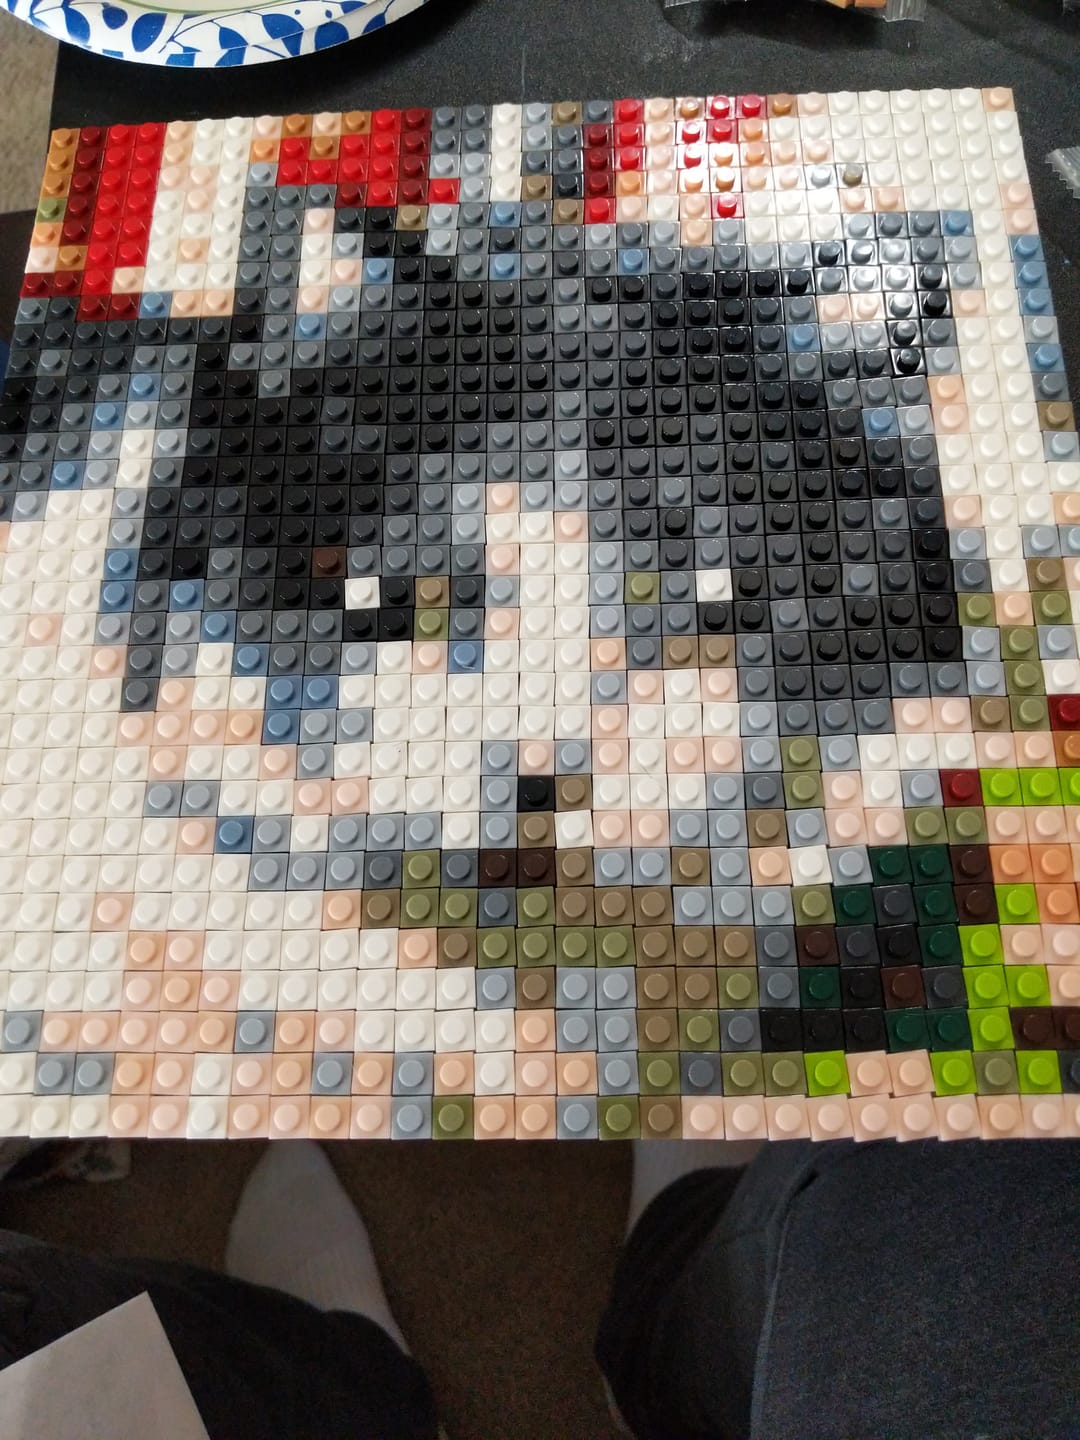
It looks blurry to me but it is okMary S. · Verified buyerCustom Bricked Mosaic 10x10" (one face only)
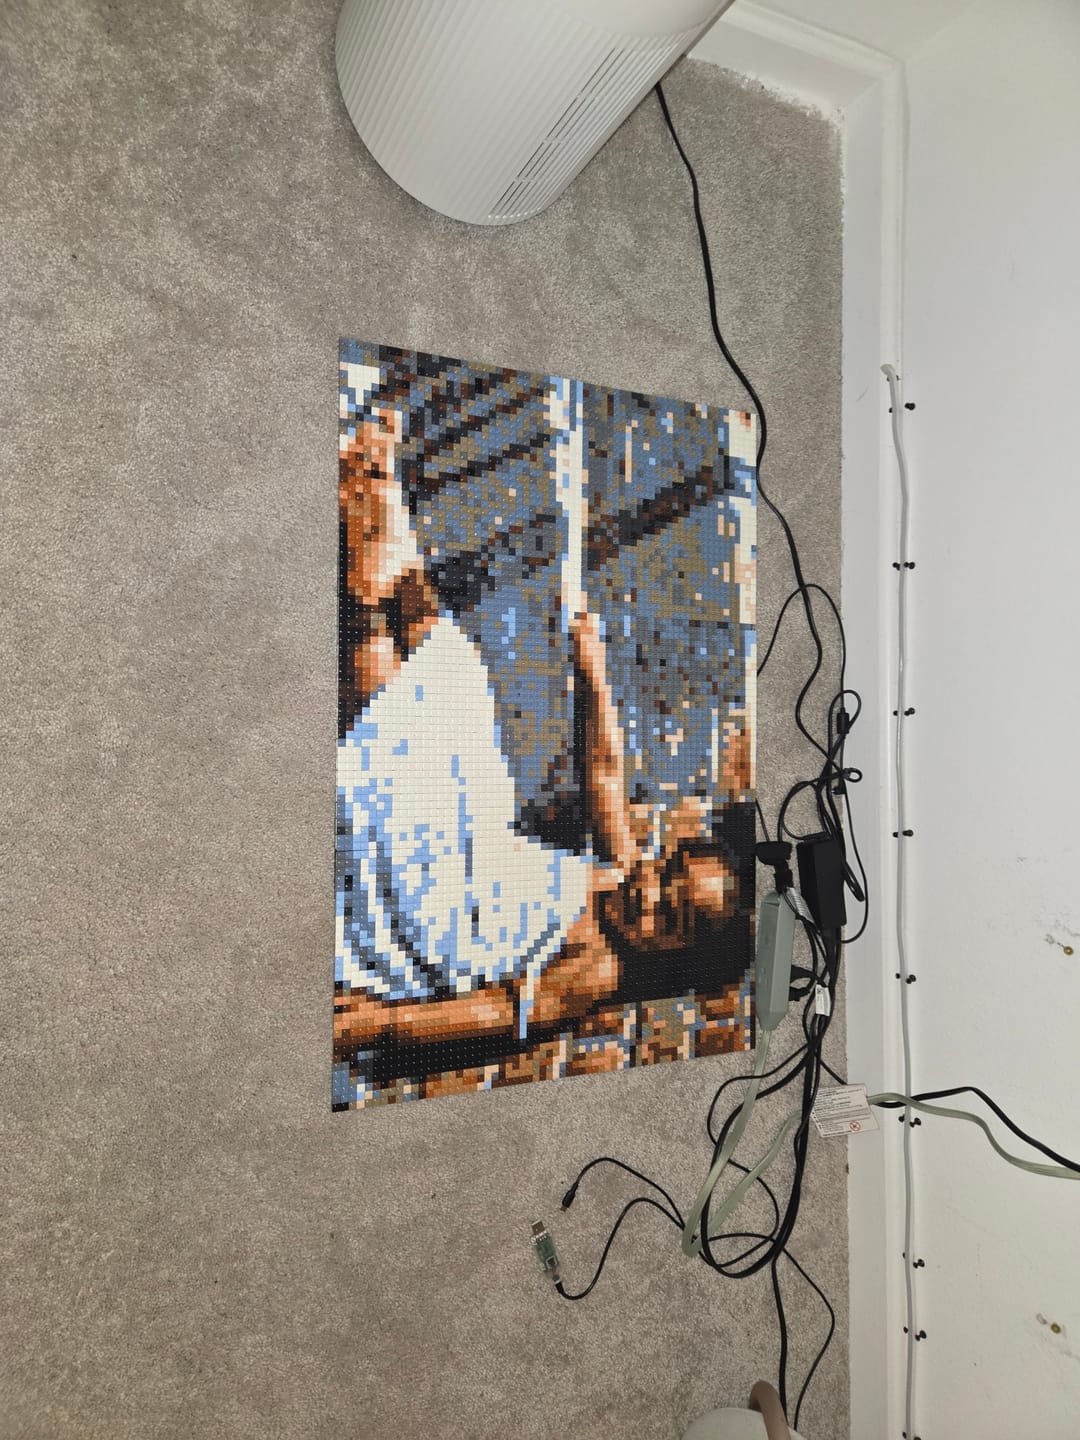
A little hard to snap in sometimes and see the letters through the block but it came out greatGiselle D. · Verified buyerCustom Bricked Mosaic Portrait 20x30"
More in the calm building series
 Building a Brick Mosaic as a Calm, Shared Activity for Autistic Kids and Adults
Why predictable, repetitive brick building feels good to many autistic people, what the research does and d...
 How to Build Together: Reader, Sorter, Builder
A family and classroom guide to building a brick mosaic in three roles: one reads the map, one sorts colors...
 Turning a Special Interest Into a Brick Mosaic
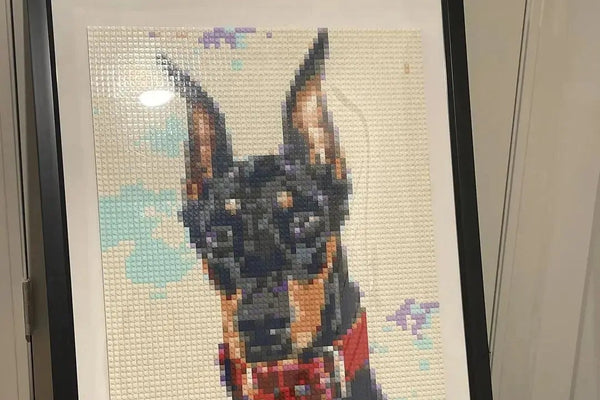
Turn a pet, a favorite train, a character or family into a brick mosaic to build. Photo tips for each, plus...